
Top-Shell painting process
EtcherPro v1
Step 1 prepare for painting
- Turn on the Fume extractor

- Turn on the Ventilation Fan

- Make sure that the valve underneath the compressor is tightly closed and not losing air

- Turn on the air compressor

- Check that the air compressor is set at the proper pressure(2.5-4bar). To adjust the pressure, turn the red knob attached to the pressure gauge to achieve the correct pressure.

- Assemble the painting air gun

- connect it to the tube installed in the air compressor

- Make sure that the EMC water-based paint is always thoroughly mixed before using it. Use the metal jig attached to the BOSCH screwdriver

- Have a plastic bottle with ¾ full of paint for easier filling the air gun’s cup. Shake before using

Step 2 Painting process
- Wear a mask and safety goggles

- Always use disposable gloves before painting

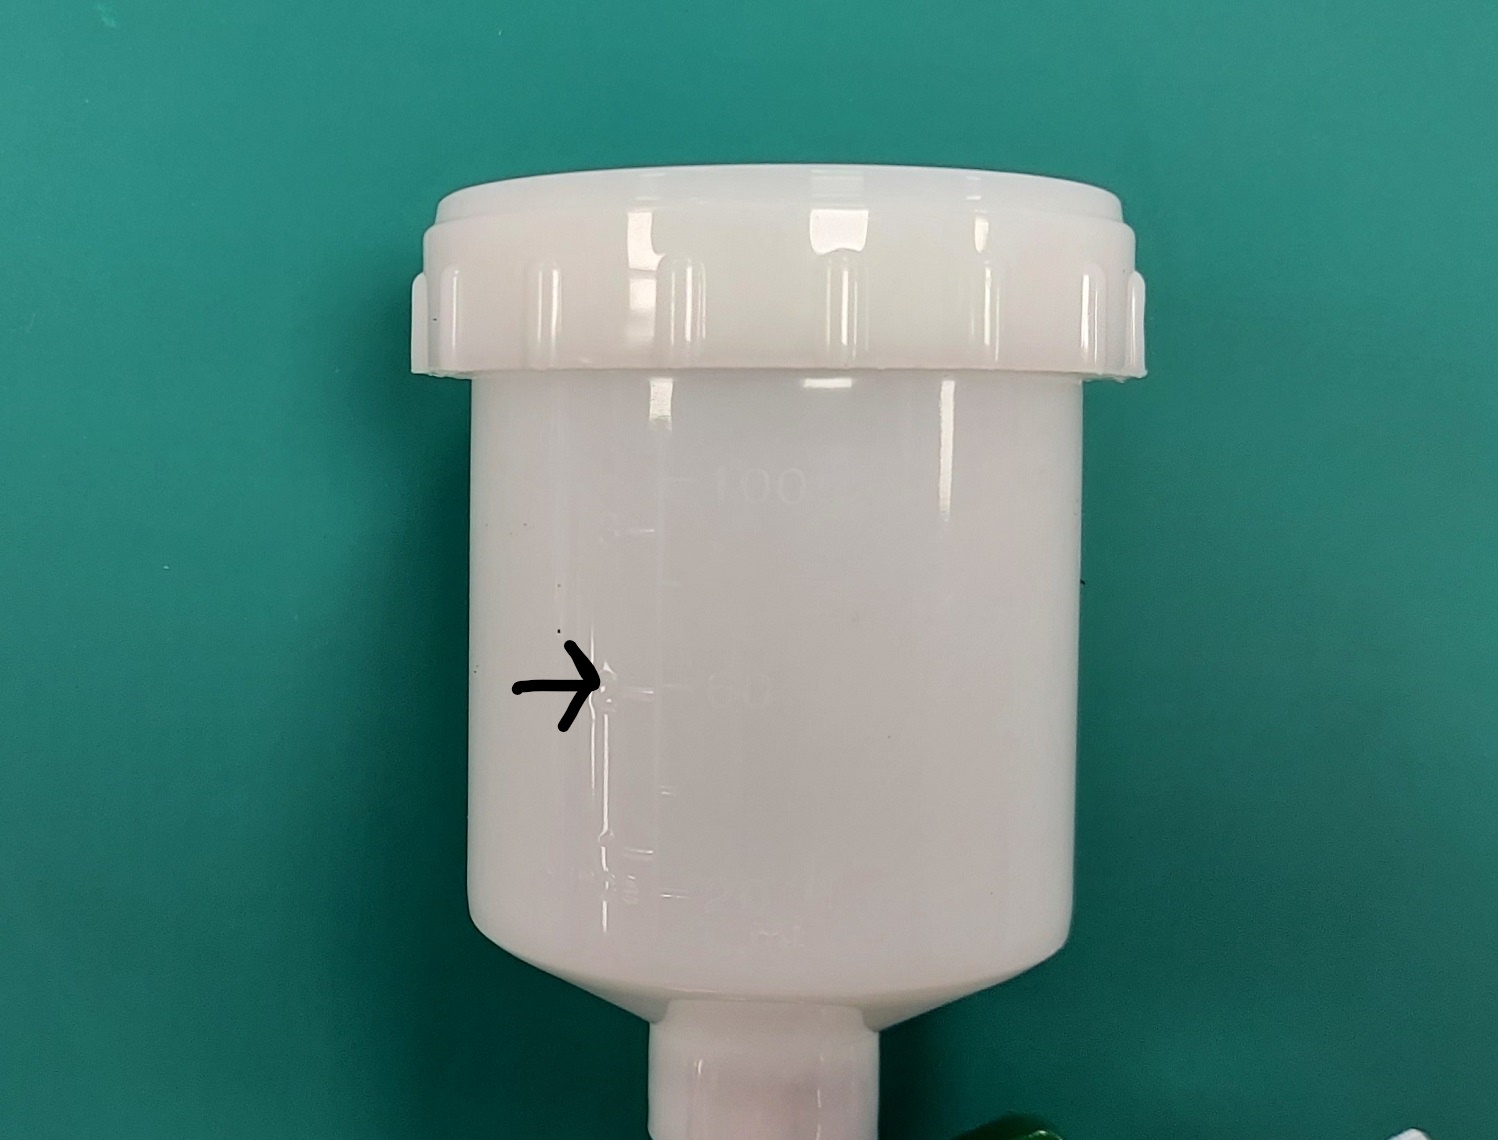
- Fill the spray gun’s cup with paint halfway
- Apply pure alcohol to a paper towel and clean the top shell from the inside to remove unnecessary oil or dust
- Place the Top-shell upside down on the modified jig, with the slots facing away from you

- Modified jig

- Place the carton ring covering the inside of the shell and surround the outside part of the shell with the nylon protective curtain

- Carton ring

- Place the plastic jig above the slots, with the wooden sticks pushing against the carton ring, making sure all slots are covered

- Plastic jig

- Start applying multiple thin coats of paint, thoroughly covering the exposed areas. The applied paint should look wet but should not drip.
- Check if all exposed areas are properly covered with paint
- Remove the slot cover carefully as the paint is still wet
- Remove the carton ring carefully without damaging the wet paint
- The first modified jig will be still wet so use the 2nd same modified jig in order to repeat the process while the 1st dries out
- Place the Top shell in a ventilated area to dry, facing upwards (default orientation)

Step 3 finish painting
- Pour remaining paint back into its original can (if any) and make sure it is shielded properly
- Disconnect the painting gun from the tube
- Untighten the valve underneath the air compressor to release the air inside
- Disassemble the painting air gun and wash thoroughly
- Let the air gun dry keeping the parts unassembled